Foam Rolling, Explained: What It Actually Does (and How to Do It Right)
In every gym corner sits a foam roller, and around it swirls a decade of big claims: breaking up scar tissue, melting knots, lengthening fascia. The honest science says the mechanisms are humbler — and the benefits are real anyway: rolling reliably improves short-term range of motion, takes the edge off soreness, and simply makes tight bodies feel better to live in. Ten minutes, six spots, done right. Here is the grown-up guide.

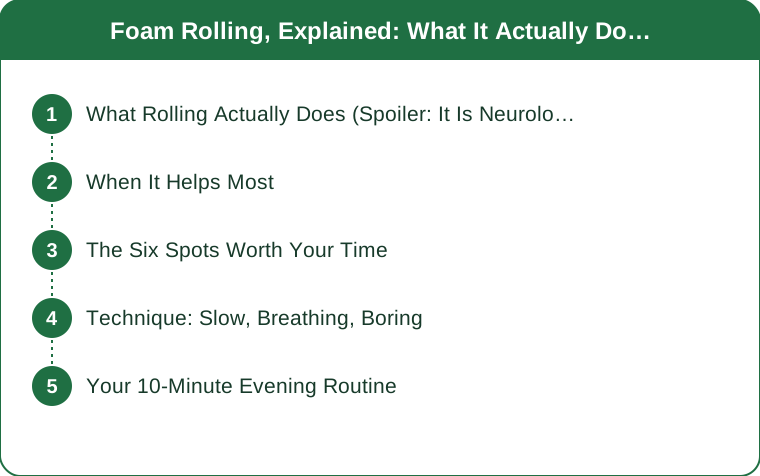
What Rolling Actually Does (Spoiler: It Is Neurological)
You are not physically ironing out muscle — a roller cannot deform dense tissue that way, and thank goodness. The best current evidence points to a nervous-system effect: sustained pressure dials down the sensitivity and guarding tone of the muscle, which is why range of motion improves within minutes and tender spots calm down. Rolling also boosts local blood flow and — unlike static stretching — improves flexibility without denting strength or power. Less magic, more neurology, still worth your ten minutes.
When It Helps Most
Three windows earn the roller. Pre-workout: 30–60 seconds per sticky area (hips, calves, upper back) as part of a warmup unlocks range for squats and lunges. Post-workout and next-day: rolling measurably blunts delayed-onset soreness, turning day-two stairs from tragedy to inconvenience. And desk-recovery evenings: upper back and hip flexors after a long sitting day is arguably the roller’s best work. What it is not: a substitute for strength, rehab for injuries, or a punishment ritual. More pain does not mean more progress.

The Six Spots Worth Your Time
One: calves — tight from every heel and every step. Two: quads and hip flexors — the sitting muscles, rolled face-down. Three: glutes — sit on the roller, cross an ankle over a knee, tip toward the tight side. Four: hamstrings. Five: the upper back — roller across shoulder-blade level, hands behind head, gentle extensions over it; instant de-hunching. Six: the IT-band-adjacent outer thigh — roll the muscles beside it, not the band itself into oblivion. Skip: the lower back (unsupported spine — use the glutes and upper back instead) and any spot with sharp or radiating pain.
Technique: Slow, Breathing, Boring
The method is almost disappointingly gentle: place the muscle on the roller, roll slowly — about an inch per second — and when you find a tender spot, pause on it, breathe long exhales, and wait 20–30 seconds for the tension to melt down a level. Discomfort should sit around 5-out-of-10, never wincing. Total 30–90 seconds per area. The classic mistakes: sprint-rolling back and forth (a massage for nobody), holding your breath, and treating agony as effectiveness. The nervous system responds to calm signals, not warfare.
Your 10-Minute Evening Routine
The daily unwinding sequence: calves (60 seconds each), quads (60 each), glutes (45 each side), hamstrings (45 each), upper back (90 glorious seconds), finished with two slow cat-cows and a deep squat hold. Do it during a show; the roller pairs beautifully with television. A firm-but-smooth roller serves beginners best — the aggressive spiked ones can wait, or never. Roll consistently for two weeks and the change is unmistakable: mornings less creaky, squats deeper, shoulders lower. Not magic. Maintenance.
The foam roller earns its floor space once you know its real job: calming overprotective muscles so you move freely and hurt less — no fascia mythology required. Six spots, slow passes, long exhales, ten minutes on the living-room floor. Your body absorbs a modern life of sitting, training and stress daily; this is the ten-minute rebate. Collect it tonight.
Keep Reading
This article is for general informational purposes only and is not medical advice. Always consult a qualified health professional for guidance specific to you.